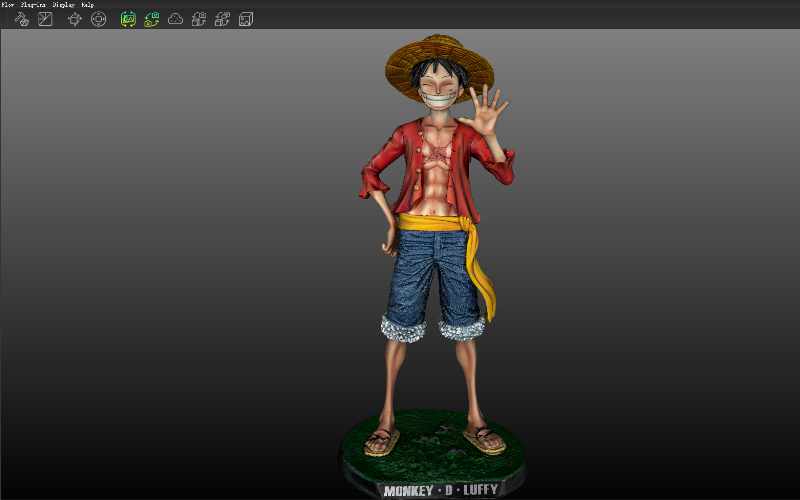
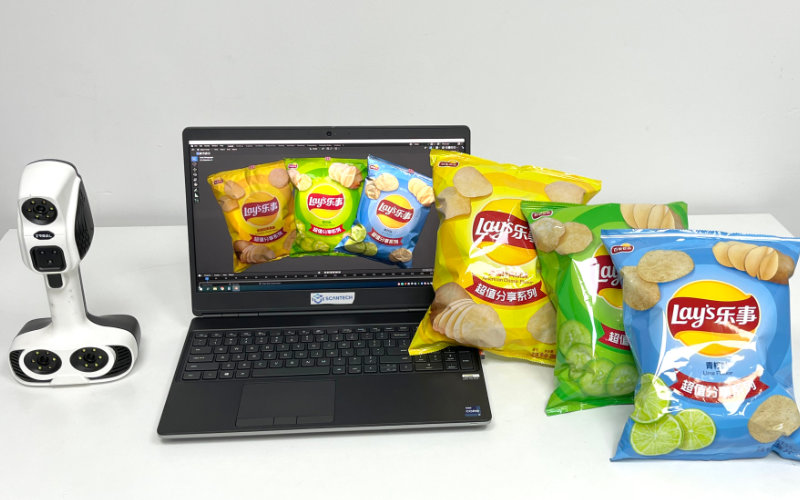
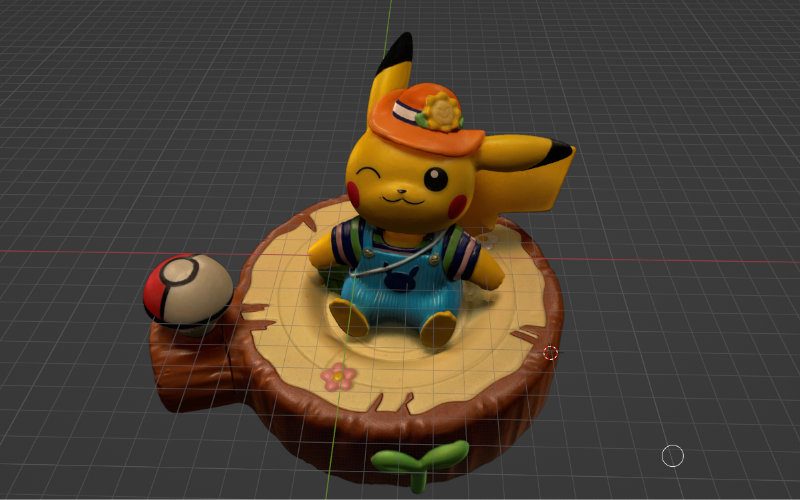
Can you believe you can turn an STL 3D file into a color OBJ file within one hour? The traditional way of post-processing tends to take a lot of time and labor costs. 3DeVOK mapping software can largely reduce the cost when speaking of a smart mapping solution.
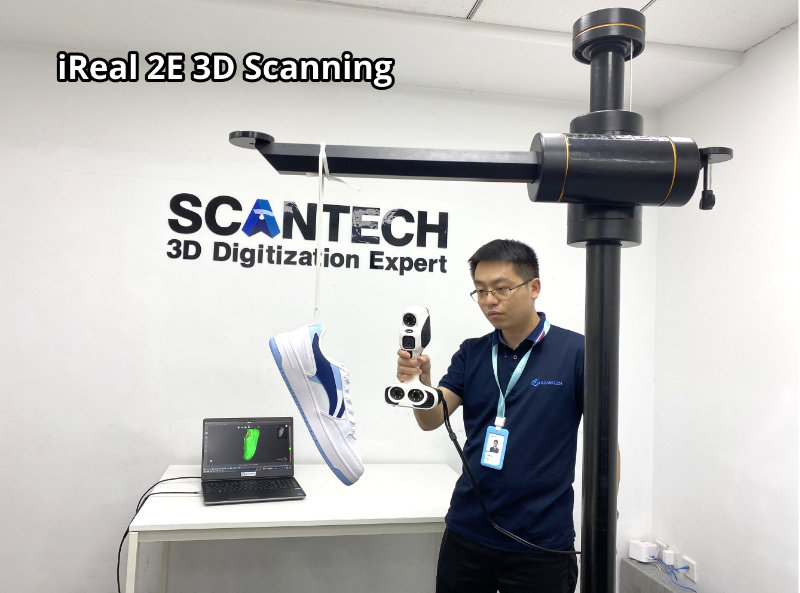
We did a test on a pair of white sneakers: using an iReal 2E 3D scanner to capture its three-dimensional data and add texture mapping in 3DeVOK mapping software.
The scanning process was smooth and fast. To help us easily scan from different angles without frequently moving the sneaker upside and down, we tied it to the rack with laces.
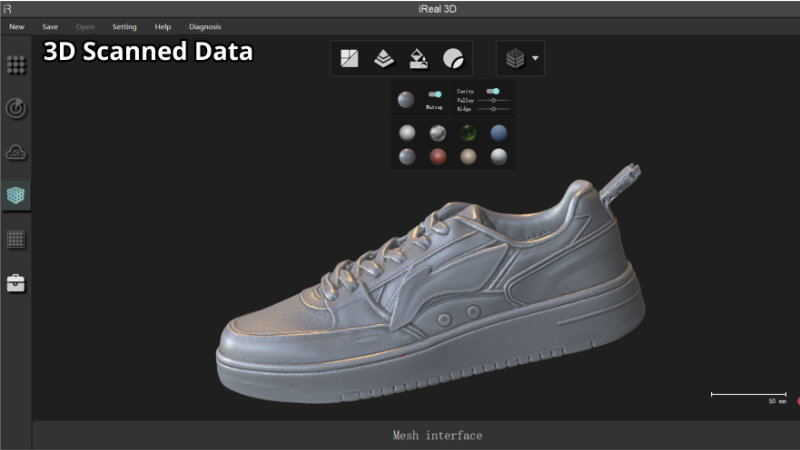
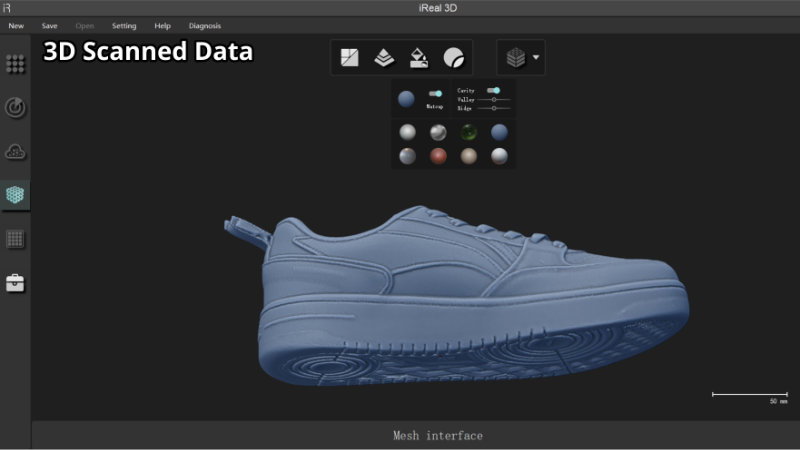
After 3D scanning, import the STL file to 3DeVOK scanning software to check if the 3D data is complete.
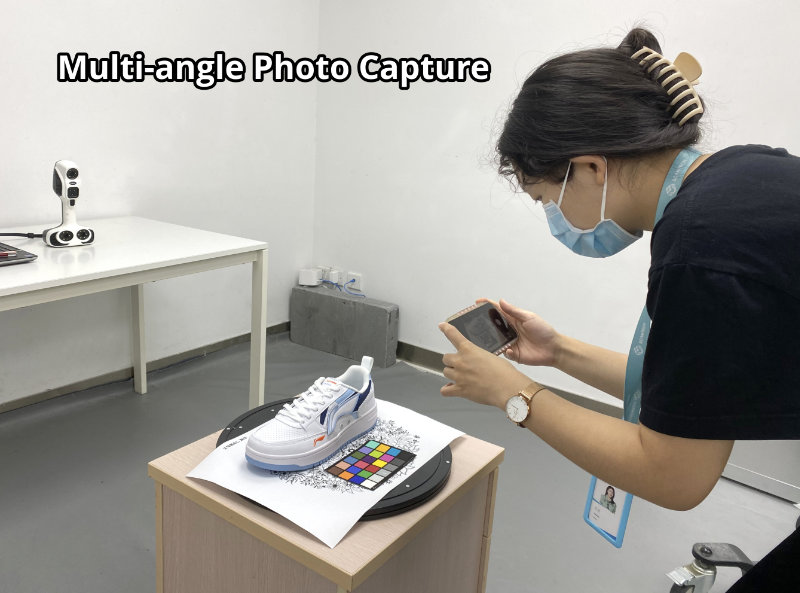
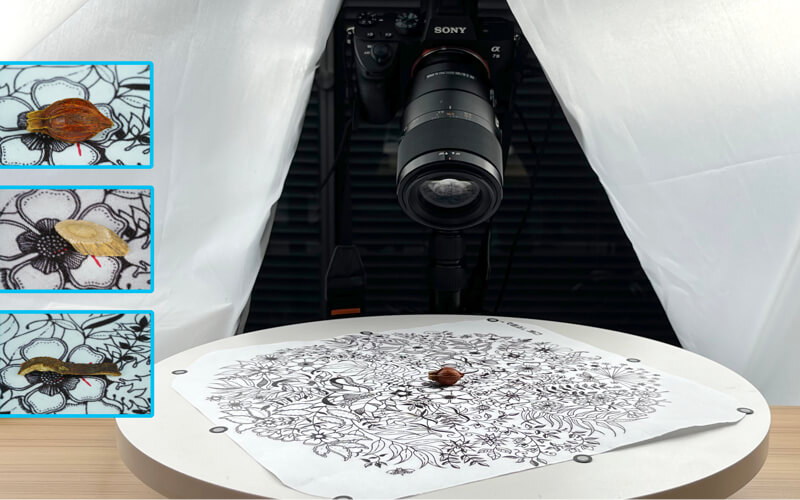
The second step is collecting multi-angle photos of the sneaker: using an SLR camera will have a better mapping effect, however, considering the efficiency, we just used an iPhone to do this job. When you take pictures of the sneaker, it is recommended to place it in this order: a turntable, a patterned pad, the sneaker, and a color checkboard.
Get the 3D model and photos ready, now we are good to go.
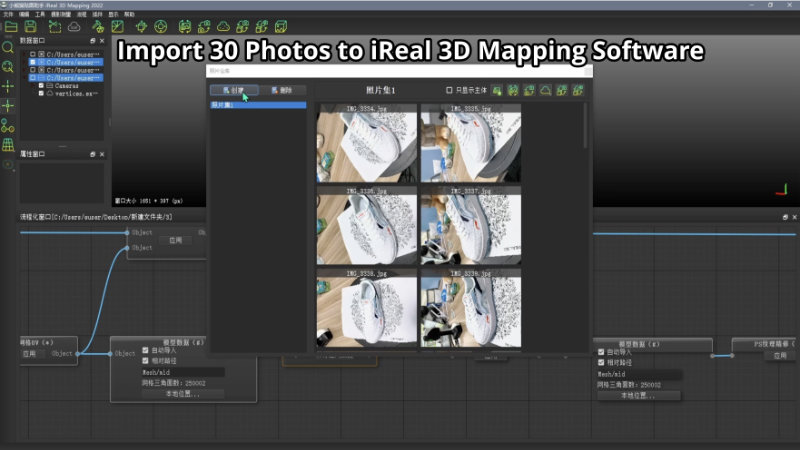
Step 1: Import the photos to 3DeVOK mapping software.
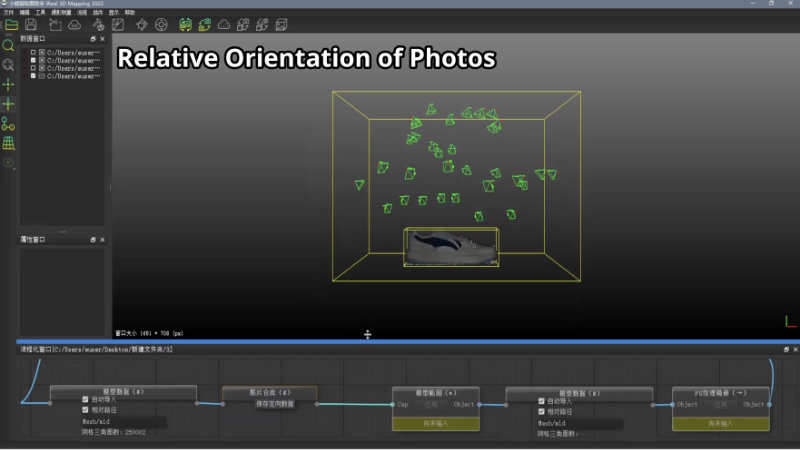
Step 2: Relative orientation of photos.
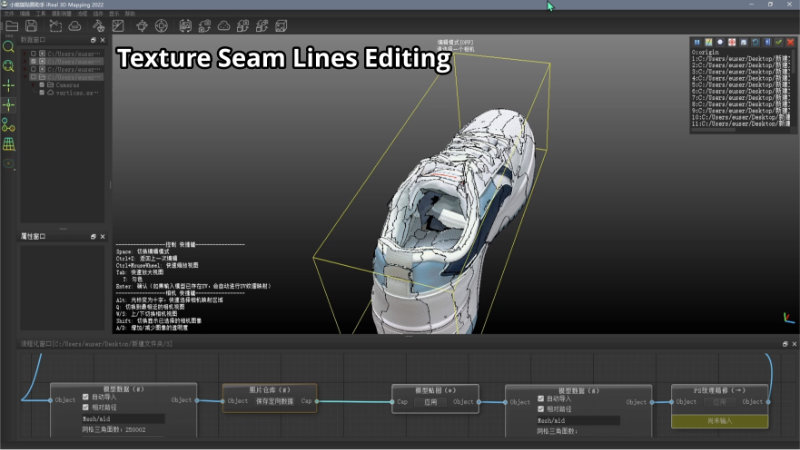
Step 3: Conduct real-time seam line editing to optimize the textures.
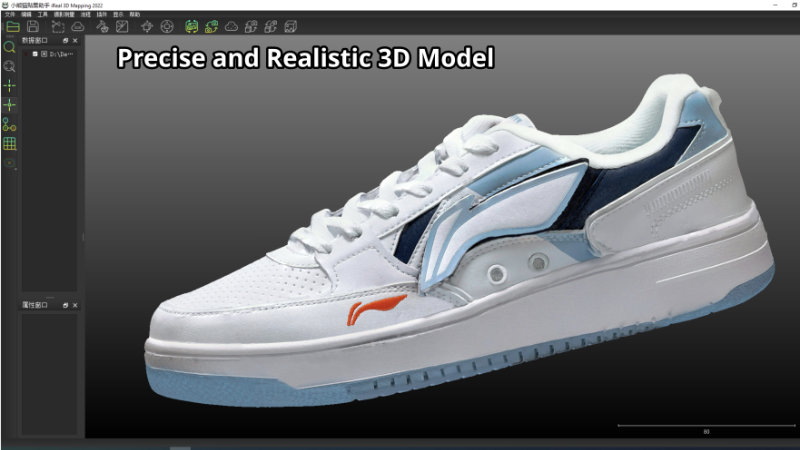
If the textures are not exactly as you wish, you can use the Photoshop Plug-in function to optimize the mapping texture. [View the 3D sneaker here]
You can also watch the entire tutorial video below.
