9 Scan-Tipps, die Sie für das 3D-Scannen menschlicher Körper kennen müssen

05/16/23

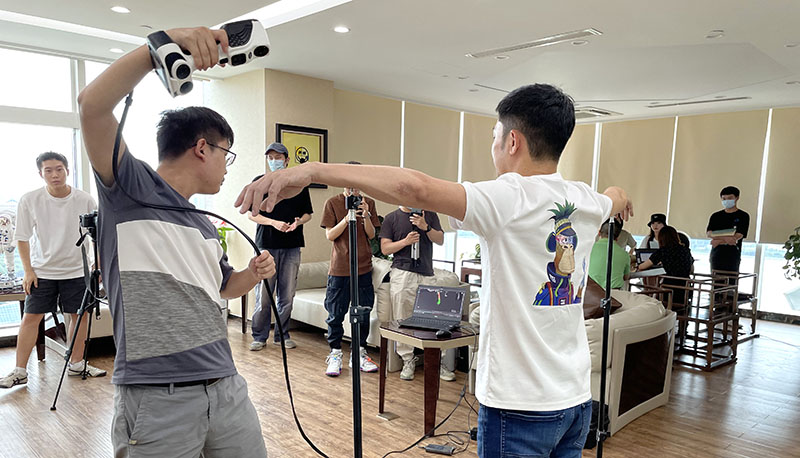
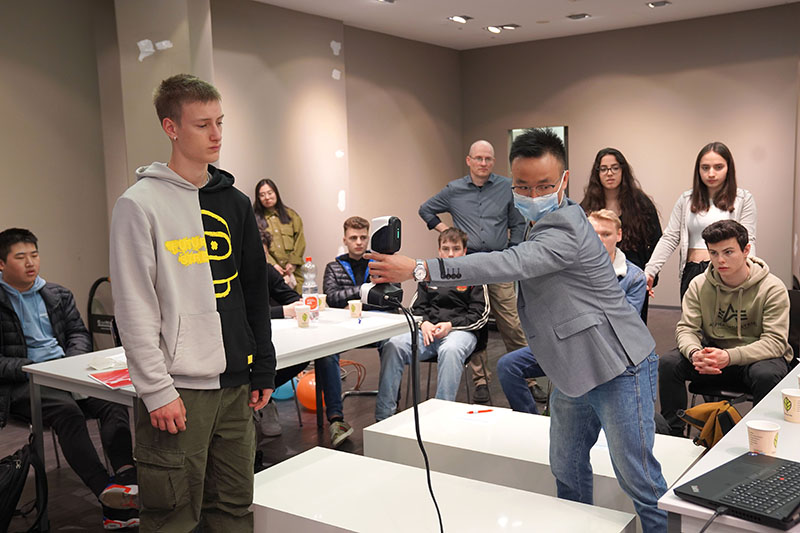
As an entry-level professional portable and color 3D scanner, iReal 2E is widely available and easy to use in human portrait and full-body 3D scanning.

It is safe and harmless to humans adopting infrared structured light, and its specific light-free mode is able to capture more complete and accurate 3D data without being visible to the human eyes.

The large field of view (580mm x 550mm) gives the operator more freedom to make data collection, friendly for beginners.

There are 9 scanning tips you must know how to make good data collection of human bodies.

Light Environment

3D Scanning the human body indoors with an even light is recommended for obtaining a colorful 3D model, keeping its textures natural. Try to avoid the light environment like with the imbalance of light and dark, or with straight sunlight.

Indoors and outdoors are both available for 3D scanning a single-color 3D model. However, the amount of point cloud and point cloud quality will be affected when exposed to strong lights.

Light Environment

Recommended Apparel For Model Being Scanned

Thin clothing such as skirts and laces is easier to float when people move, and the deformation will lead to scanning errors to increase the workload of later repair. In contrast, jeans are better scanned.

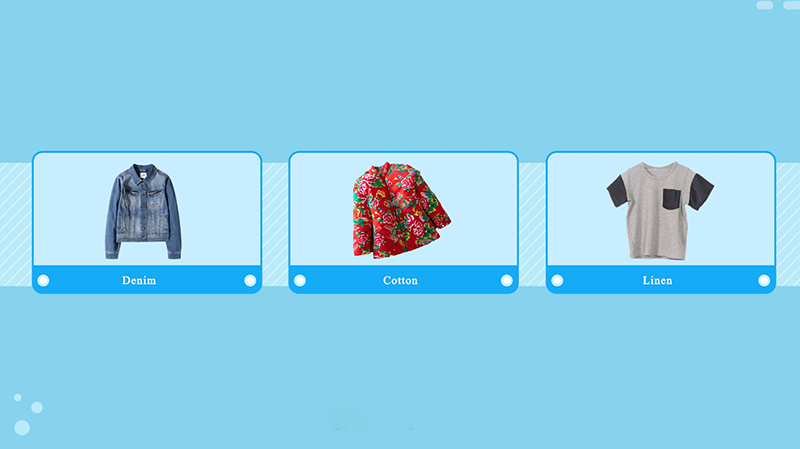
The light-absorbing and reflective materials, such as black leather clothes and dark tights, are difficult to scan, and little captured point cloud data might cause incomplete data or unsmooth alignment. We recommend wearing denim, cotton, or linen materials.

recommended clothing materials

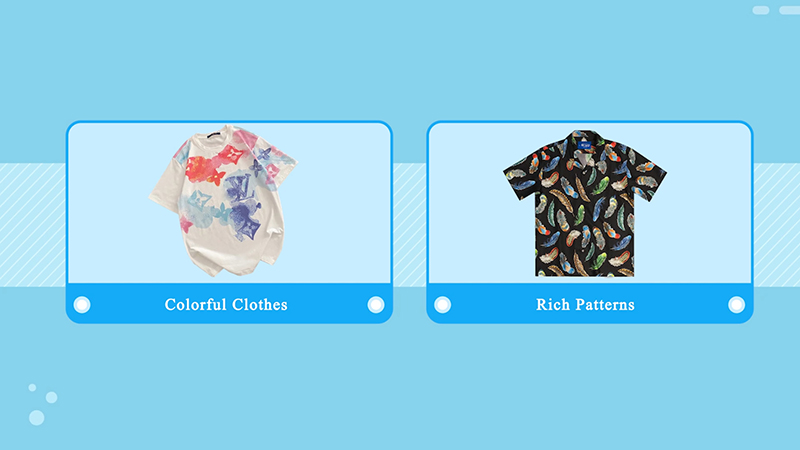
The color difference for clothing with solid or light colors is obvious under the uneven light environment. If you need a realistic 3D model, choose a colorful clot with rich patterns. See the below-attached picture.

colorful clothing with rich patterns

The person being scanned is suggested not to wear any jewelry including earrings, watches, bracelets, and necklaces, even removing the eyeglasses.

The described items are hard to scan completely as they are small, dark, complex, shiny, reflective, or transparent. If these decorations are needed, adding them in the post-modeling is simpler than repair.

Hairstyle and Hair Colors of the Scanned Person

Hair, as an essential part, was difficult to scan previously. Smooth and thick hair, compared with frizzy, fluffy, and discrete hairstyles, is easier to 3D scan. One tip sharing with you is to wet the hair before scanning.

3. Hairstyle and Hair Colors of the Scanned Person

Combing the hair uniformly to the back or braiding twists is suitable for women while combing it normally for men. iReal 2E portable 3D scanner is able to adapt to 3D scanning various hair colors.

Scanning Postures

It costs about 3 to 4 minutes for the full-body 3D scanning, and the scanned person is required to keep still during the process, so make sure that the pose is comfortable and stable like normal standing pose.

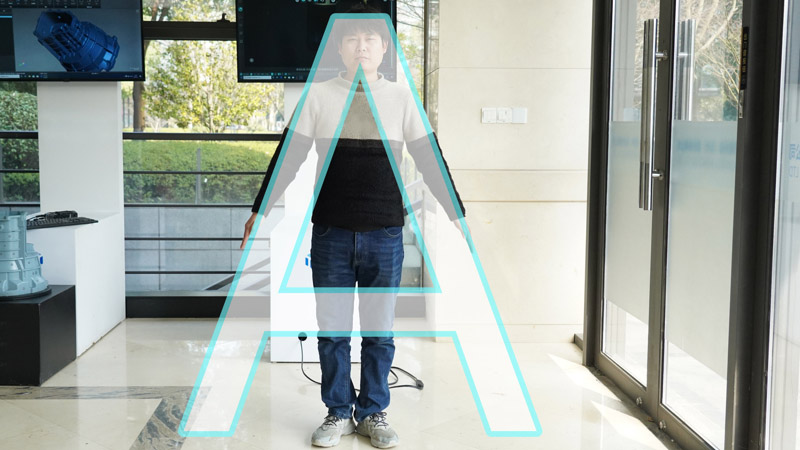
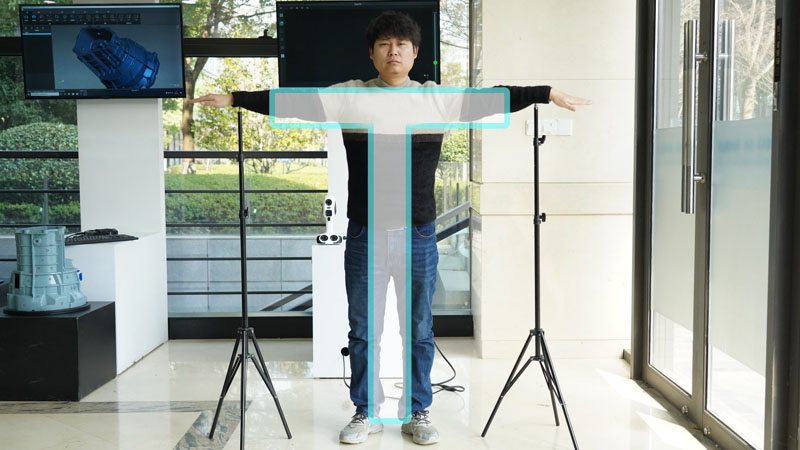
For specific or designed postures, like A pose or T pose, the corresponding brackets can help support 2 arms to keep still as far as possible.

Multiple scans are a way to capture a custom pose if it’s almost impossible to avoid movement in several minutes, saving the point cloud project files and then making alignments in iReal 3D Scanning software.

A Pose
A Pose
T pose
T pose

Standing Position

The engineer should arrange enough room before getting started with the scanning, keeping the computer screen in your eyes to check real-time 3D scanned data.

A useful tip to keep still is to ask the scanned person to choose a point higher than eye level and look at it until finishing the scanning. Don’t talk with others around that will influence your face control.

5.Standing Position

Parameter Setting

We recommend choosing the first default mode named Human Body Scanning Mode for full-body or half-body 3D scanning.

LED-off Mode, automatically turning off the flashlights to make the process more comfortable, is suitable for capturing a single-color 3D model. Don’t forget to select the function “Hair Enhancement” to collect more data.

Resolution Selection: We recommend using a resolution of 0.7mm to scan the full body, 0.5mm for the half body, and 0.2mm for body parts like hands or face.

The smaller resolution means a greater amount of scanned data. The memory of the computer is required at least 64GB if adopting 0.5mm to make full-body scanning. The suggestion is that don’t use 0.2mm to scan a whole human body.

You can also customize the scan mode based on your needs, click the plus sign to create a new scanning mode. Note that the scene should be selected “Human” because we apply the non-rigid fitting algorithm to automatically eliminate overlayers. Other settings can be set according to personal needs.

Scanning Path

The general scanning order is from the chest, face, hair, chin, chest, back, back legs, front legs, and chest. Face can be scanned only once, do not scan it multiple times.

Keep the scanner farther away to facilitate smooth splicing when moving from the chest to the back. Remember to scan from the bottom to the top while 3D scanning the legs.

If the person you’re about to scan is of the same height or taller than you, it’s better to finish the scanning while the person is seated. Standing on the chair to capture the top of the head should be done when it’s safe.

When scanning, one hand holds the scanner, and the other hand carries the cable in case of the movement of the cable causes the deformation of clothing.

Scanning Distance

For parts needed with high details, such as the face or the hands, keep the scanning distance closer (around 40-50cm) to capture better data.

For some parts with fewer geometric features, such as the back or legs, we can scan as far as possible (around 60-70cm) to rely on the other features to help with data splicing.

Scanning Technique

Scanning Technique

The 2 black-and-white cameras of the iReal 2E 3D scanner need a common field of view to work, otherwise, they cannot capture any 3D data. Change the angles of the scanner when scanning.

For example, turn the scanner sideways for scanning the chin. Pay more attention to the scanning speed. The data will have many noisy points when with too fast speed, while the higher possibility of scan errors with long-time scanning.

Practice makes perfect. Don’t forget to use your scanner regularly!