3DeVOK MQ 3D Scanning + 3D Printing: Revitalizing Creativity with New Life
03/21/25
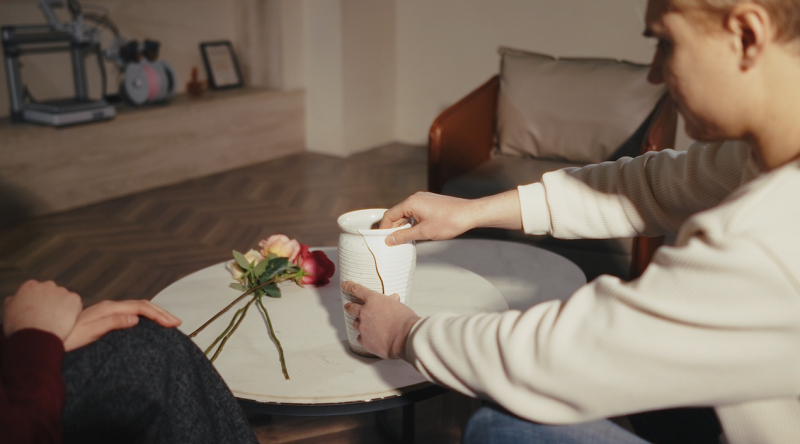
Life’s accidents often occur when we least expect them; a cherished porcelain piece, a familiar warmth, can all too easily turn into regret due to a moment’s carelessness. Yet, in today’s rapidly advancing technology, regret is no longer an insurmountable endpoint but rather the starting point for innovation and transformation. The deep integration of 3D scanning and 3D printing technologies is opening up unprecedented possibilities for item restoration. This article will guide you through the intersection of technology and art, exploring how to breathe new life into a damaged vase and ensure that the warmth and memories of home continue to endure.
Preparation Work
- Equipment: 3DeVOK MQ Color 3D Scanner, Bambu Lab 3D Printer, Computer (with reverse modeling and repair software Geomagic Design X installed)
- Materials:Damaged vase, 3D printing materials (such as PLA, ABS, etc.)
- Tools: Glue, Sandpaper, Cleaner, Cutting tools (such as a craft knife)
3D Scanning Steps
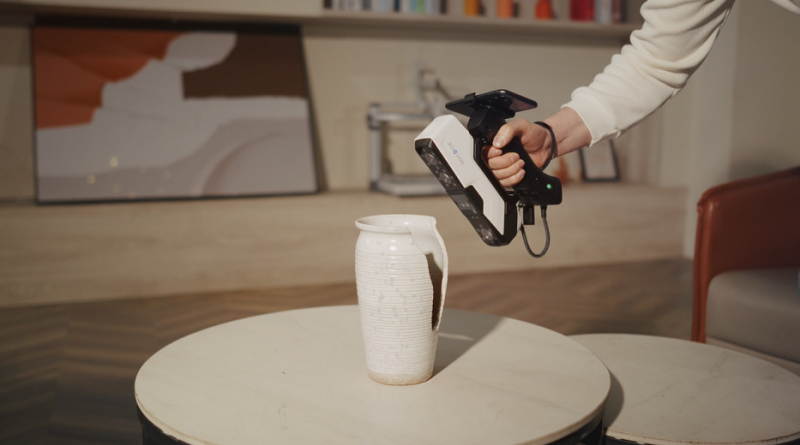
- Clean the vase: First, clean the damaged vase thoroughly to ensure the surface is free of dust, oil stains, etc., to facilitate the 3DeVOK MQ professional 3D scanner’s accurate capture of the vase’s information.
- Position the vase: Place the vase within the working area of the 3DeVOK MQ portable 3D scanner.
- Power on the 3D scanner:Turn on the 3DeVOK MQ handheld 3D scanner and adjust the scanning parameters according to the manual, such as resolution and scanning range.
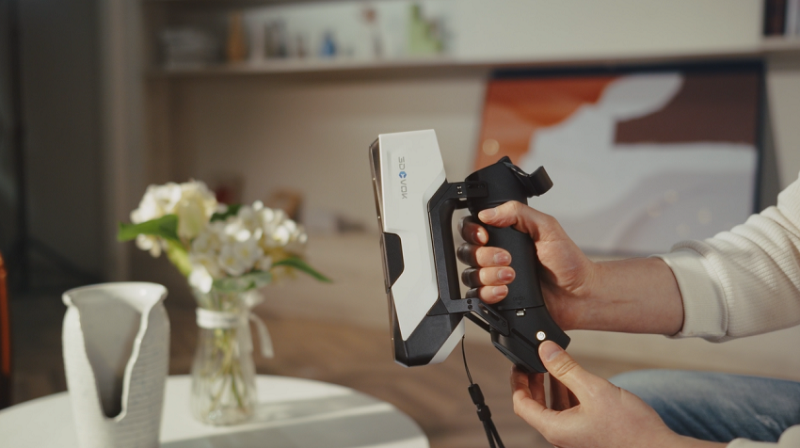
- Scan to acquire 3D data: Initiate the scan; the 3DeVOK MQ laser 3D scannerwill scan the vase and acquire precise 3D data. During the scanning process, keep the vase still. Utilize the 3DeVOK MQ 3D scanner to capture the vase’s accurate 3D data.
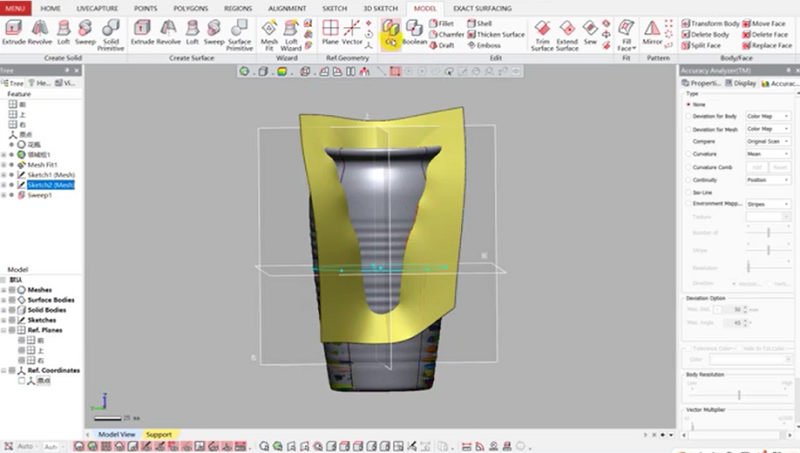
- Reverse repair the model:In the 3D modeling software (Geomagic Design X), perform reverse repair on the scanned 3D model by removing any extraneous impurities, filling in missing parts, and ensuring the model is complete and accurate.
3D Printing Steps
- Export the model:Export the repaired 3D model to a format supported by the 3D printer, such as STL or OBJ.
- Slicing:Use 3D printing software to slice the model, setting print parameters such as layer height, infill density, and print speed.
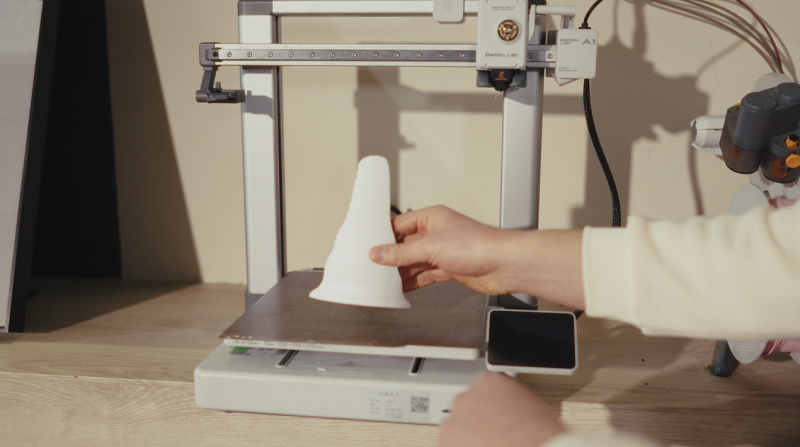
- Printing: Send the sliced model to the 3D printer and start the printing process. Ensure the 3D printer operates stably during printing to avoid print failures.
- Removal of print:After printing is complete, remove the print from the build platform and use tools to remove any support structures.
- Post-processing:Perform post-processing on the print, such as sanding and polishing, to make the surface smooth and aesthetically pleasing.
- Assembly:Piece together the printed vase fragments with the original damaged vase. Use glue to bond the pieces, ensuring the joints are secure.
Through the above steps, we successfully utilized 3D scanning and 3D printing technology for reverse modeling, repairing the shattered vase. This process not only demonstrates the charm of technology but also brings convenience to our lives. As 3D technology continues to become more widespread, it is believed that in more fields in the future, 3D scanning and 3D printing will play an even greater role.


